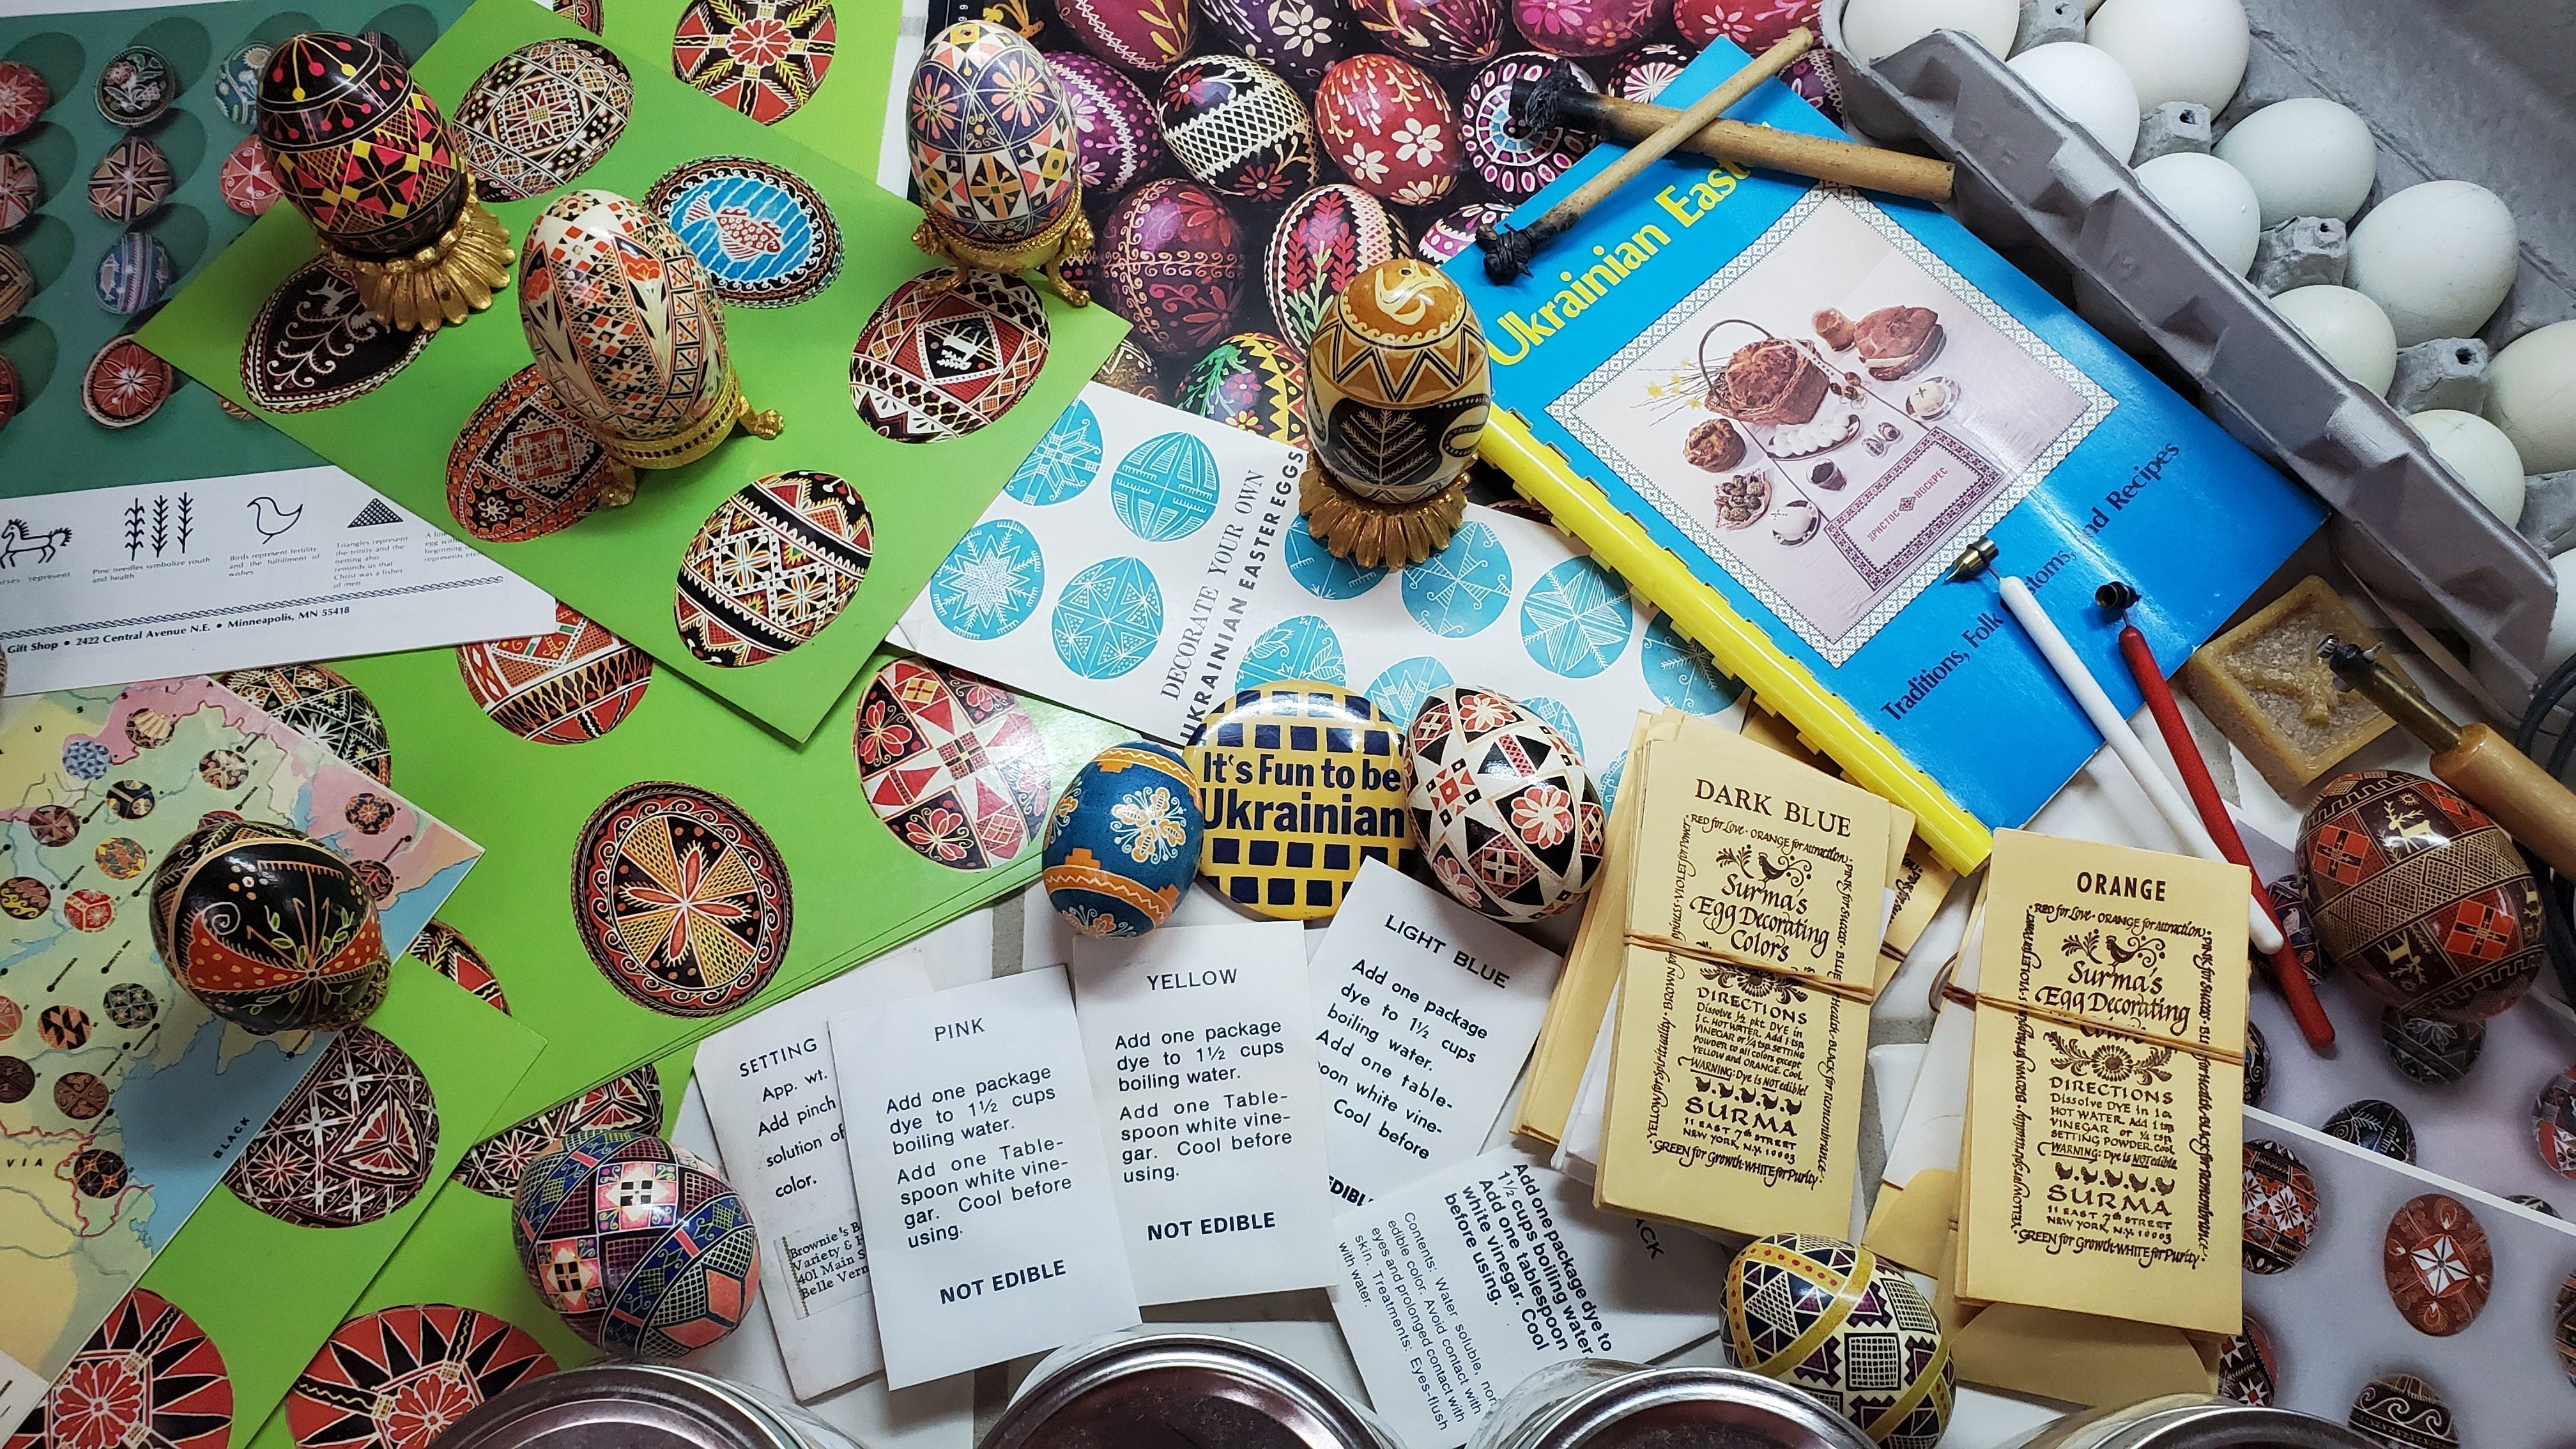
This is a fun project for the kiddos to learn about nature's magic; they are unique and beautiful!

Here’s a handy guide to follow:
1
1. Pick one of the below and simmer with 2+cuos water (enough water to have veggies/fruit fully covered in water) for 30 minutes
- 2 cups chopped beets = reddish pink
-
2 cups red onion skins = reddish orange
-
2 cups yellow onion skins = orange
-
1/4 cup ground turmeric = yellow
-
2 cups chopped purple cabbage = blue
-
2 cups blueberries = indigo blue eggs

2. Strain the liquid. Add 1 tablespoon distilled white vinegar to every 1 cup strained dye liquid. Put dye in a wide-mouth jar or recycled yogurt container. Let cool to room temperature. Cover until ready to use. Keeps in a refrigerator for one week.
3. Gently place eggs in dye container with a slotted spoon. Careful not to spill the dye. Soak hard-cooked eggs in the dye for at least 1 hour or until the desired color is achieved. Because these dyes take longer to set than store-bought dyes, we suggest it’s easy to put the eggs in the dye, and refrigerate overnight. You’ll have a wide range of colors and patterns based on how the eggs sat in the dye container.
4. Remove eggs from dye with a slotted spoon. Dry the eggs with a paper towel and polish with a little oil to make them shine.

Now, have fun decorating with them. An Easter basket filled with green grass and these gorgeous eggs will make for a naturally beautiful centerpiece. Or simply use them on food platters as garnish.

P.S. We made a test batch using both white and brown eggs, just for fun, as we wanted to see how the colors differed. The brown eggs took the colors darker and also accentuated the red brown undertone. Our opinion: stick with white eggs!
.