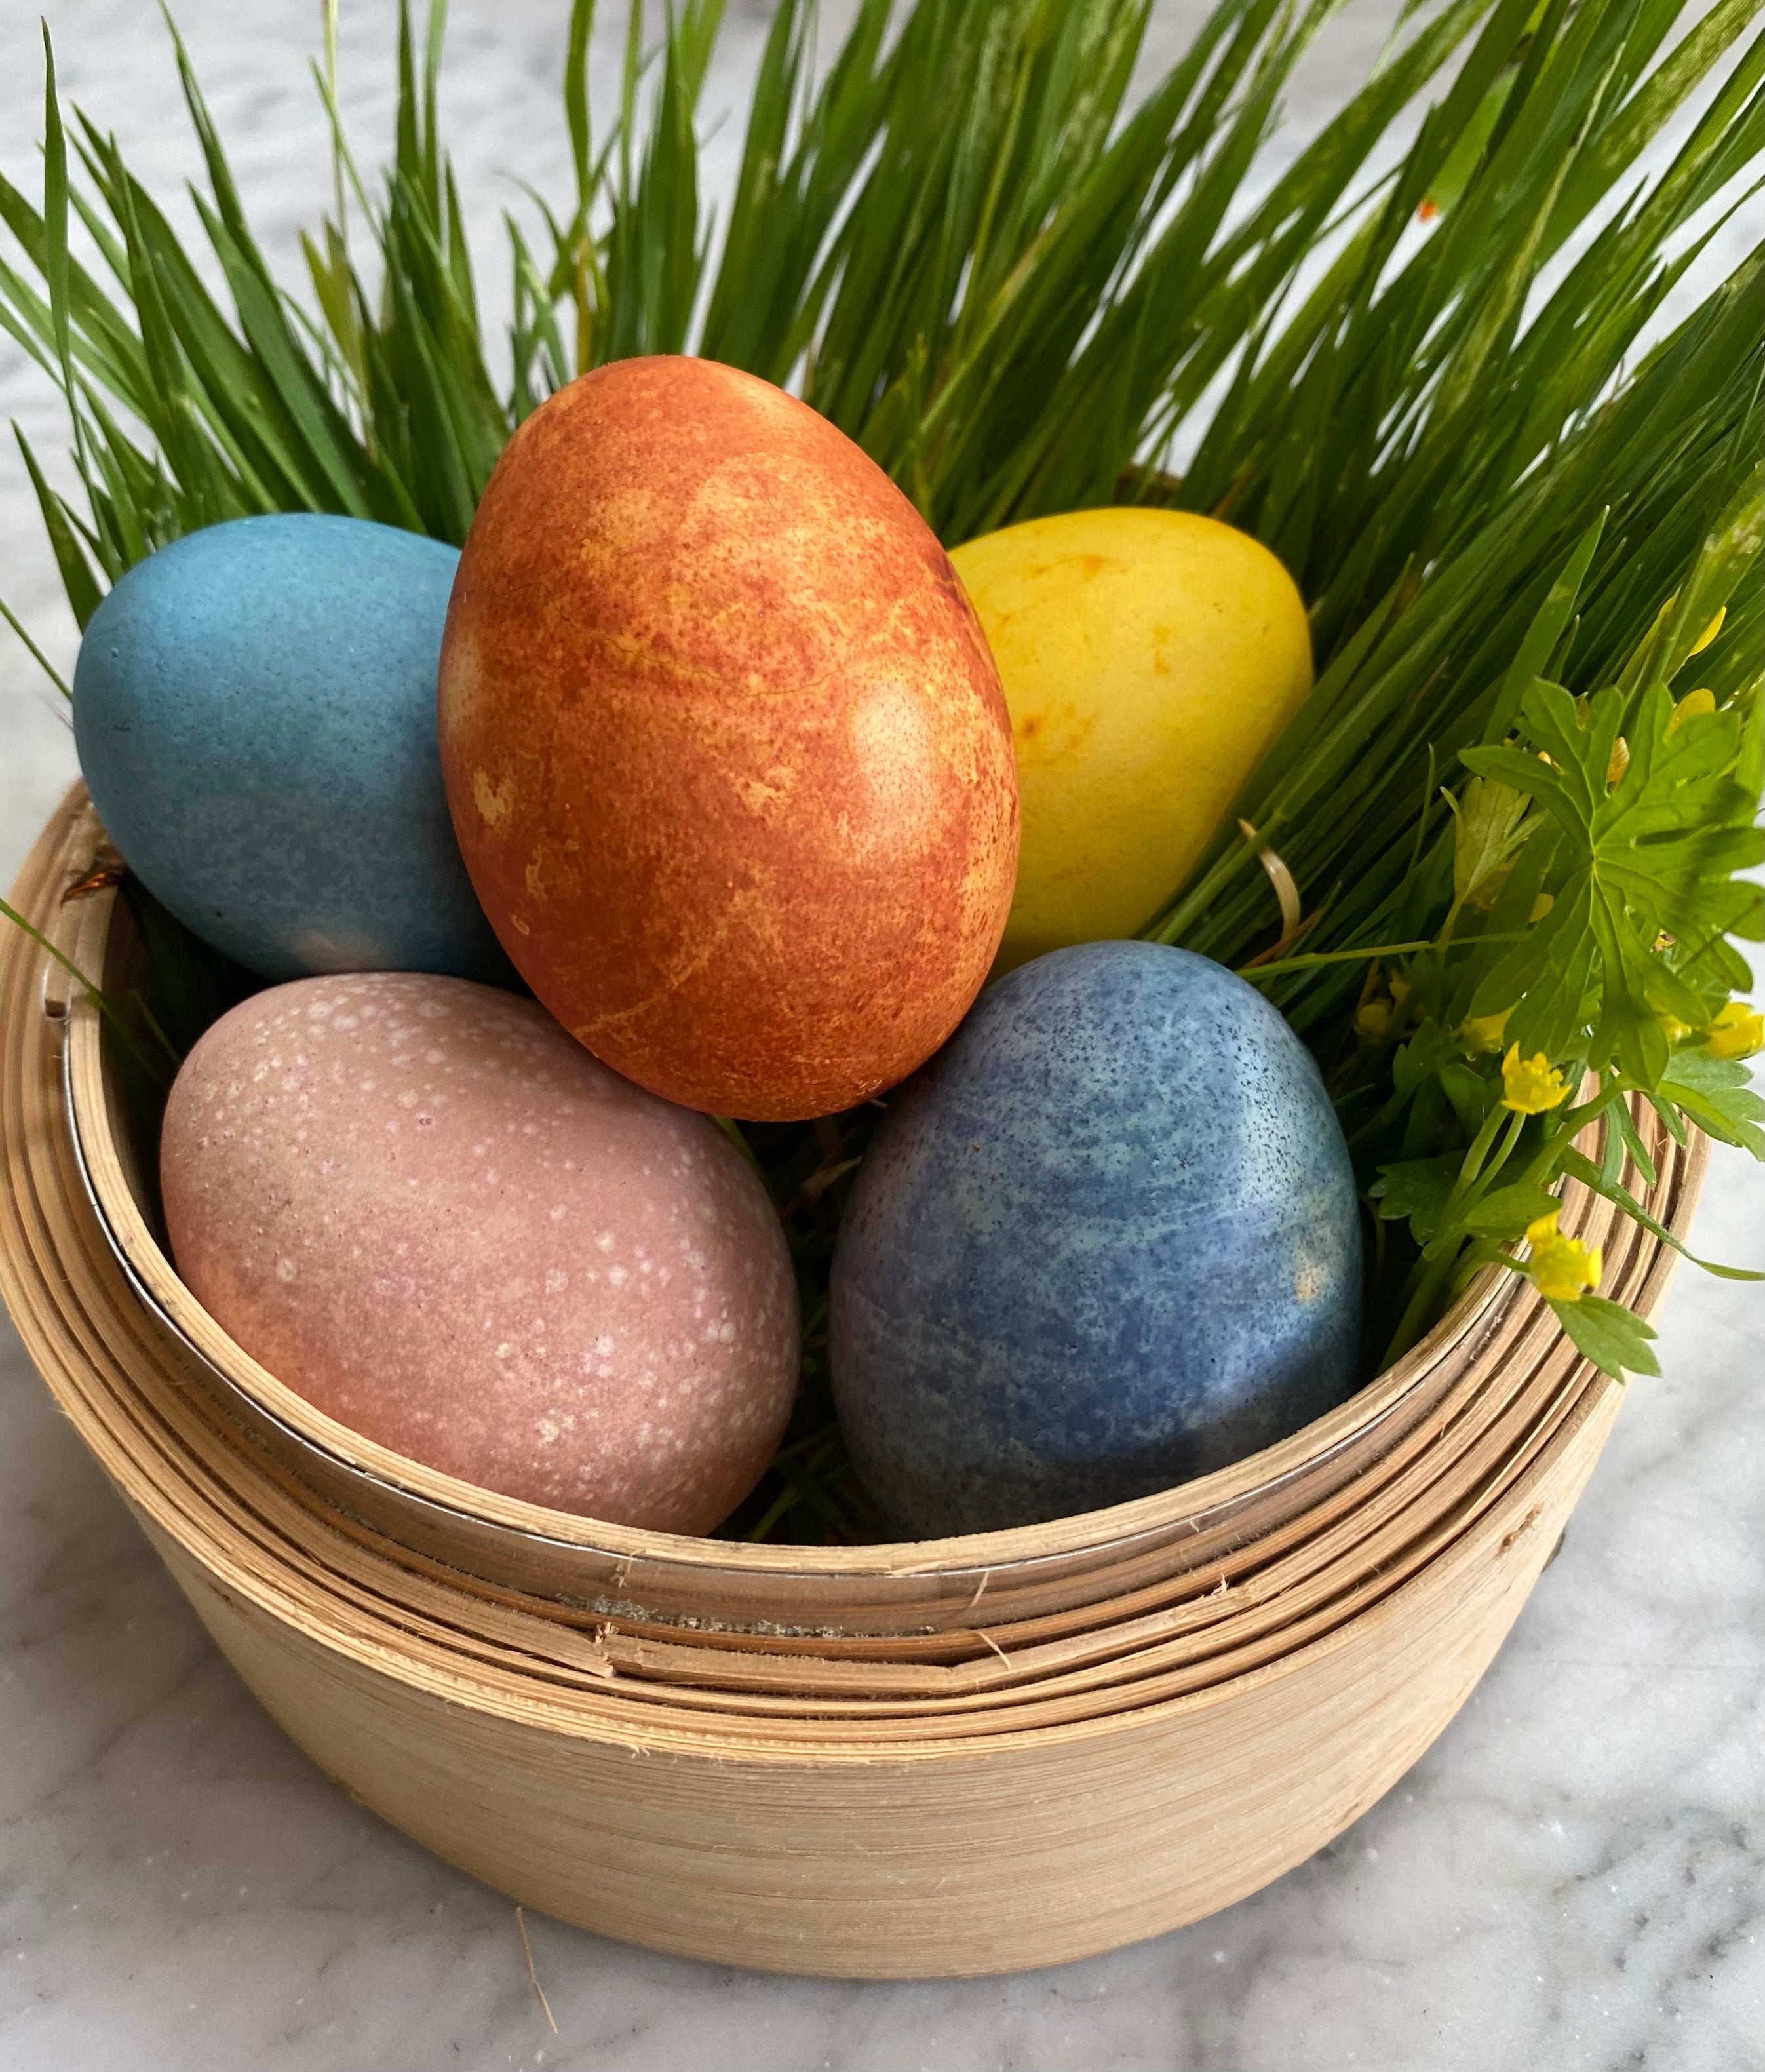
What Are Pysanky?
The word pysanka (plural: pysanky) comes from the Ukrainian verb pysaty, meaning “to write.” That’s because these eggs aren’t painted—they’re written on using melted beeswax and intricate designs. Traditionally, the egg was honored and decorated to celebrate the renewal of nature and life.
Pysanky are dyed in vivid, highly pigmented colors, layered between stages of wax drawing, and often gifted to loved ones as symbols of protection and good fortune. Eggs can be left raw or hollowed, depending on your preference.

A Step-by-Step Guide to Ritualistic Eggs (Pysanky)
Each spring, the ancient art of pysanky offers a meditative, meaningful way to honor life, renewal, and tradition. These ritualistic eggs are more than just decorations—they are talismans of hope, rebirth, and beauty. In this guide, we’ll walk you through the origins of pysanky and how you can create your own.
Materials You’ll Need:
-
White eggs (raw or hollowed)
-
Beeswax
-
Kistka (wax writing tool)
-
Candle or electric wax heater
-
Dyes (acid-based, vibrant dyes work best)
-
Vinegar
-
Pencil (optional for sketching designs)
-
Soft cloth or paper towels
-
Spoon or slotted egg dipper
-
Varnish (optional, for a glossy finish)
Step-by-Step Instructions:
1. Prepare Your Egg
Start with a clean, dry egg. Gently wash it in vinegar to remove any oils that might resist the dye. You can either leave the egg raw or blow out the contents to preserve it for longer display.
2. Draw Your Design in Pencil (Optional)
Lightly sketch your design if you'd like a guide. Traditional motifs include suns, stars, wheat, flowers, and geometric patterns—all symbols of fertility, strength, and nature.
3. Heat the Beeswax
Use a candle or an electric kistka heater to melt your beeswax. Scoop a small amount of wax into your kistka.
4. Begin Writing with Wax
Use the kistka to draw over the lines you want to remain white. The wax preserves the egg’s original color as you layer on dyes.
5. Dye and Repeat
Dip the egg in the lightest dye color (typically yellow). Pat it dry gently, then apply wax over the areas you want to stay yellow. Continue this process—dye, dry, wax—with progressively darker colors. Common color progression: Yellow → Orange → Red → Black.
6. Melt Off the Wax
Once all colors are applied, carefully hold the egg near a flame to melt the wax. Wipe it gently with a soft cloth to reveal your layered design.
7. Optional: Varnish and Hollow
If you haven’t hollowed the egg yet, you can do so now. Apply a coat of clear varnish for added shine and protection.